A Perfect Pantry

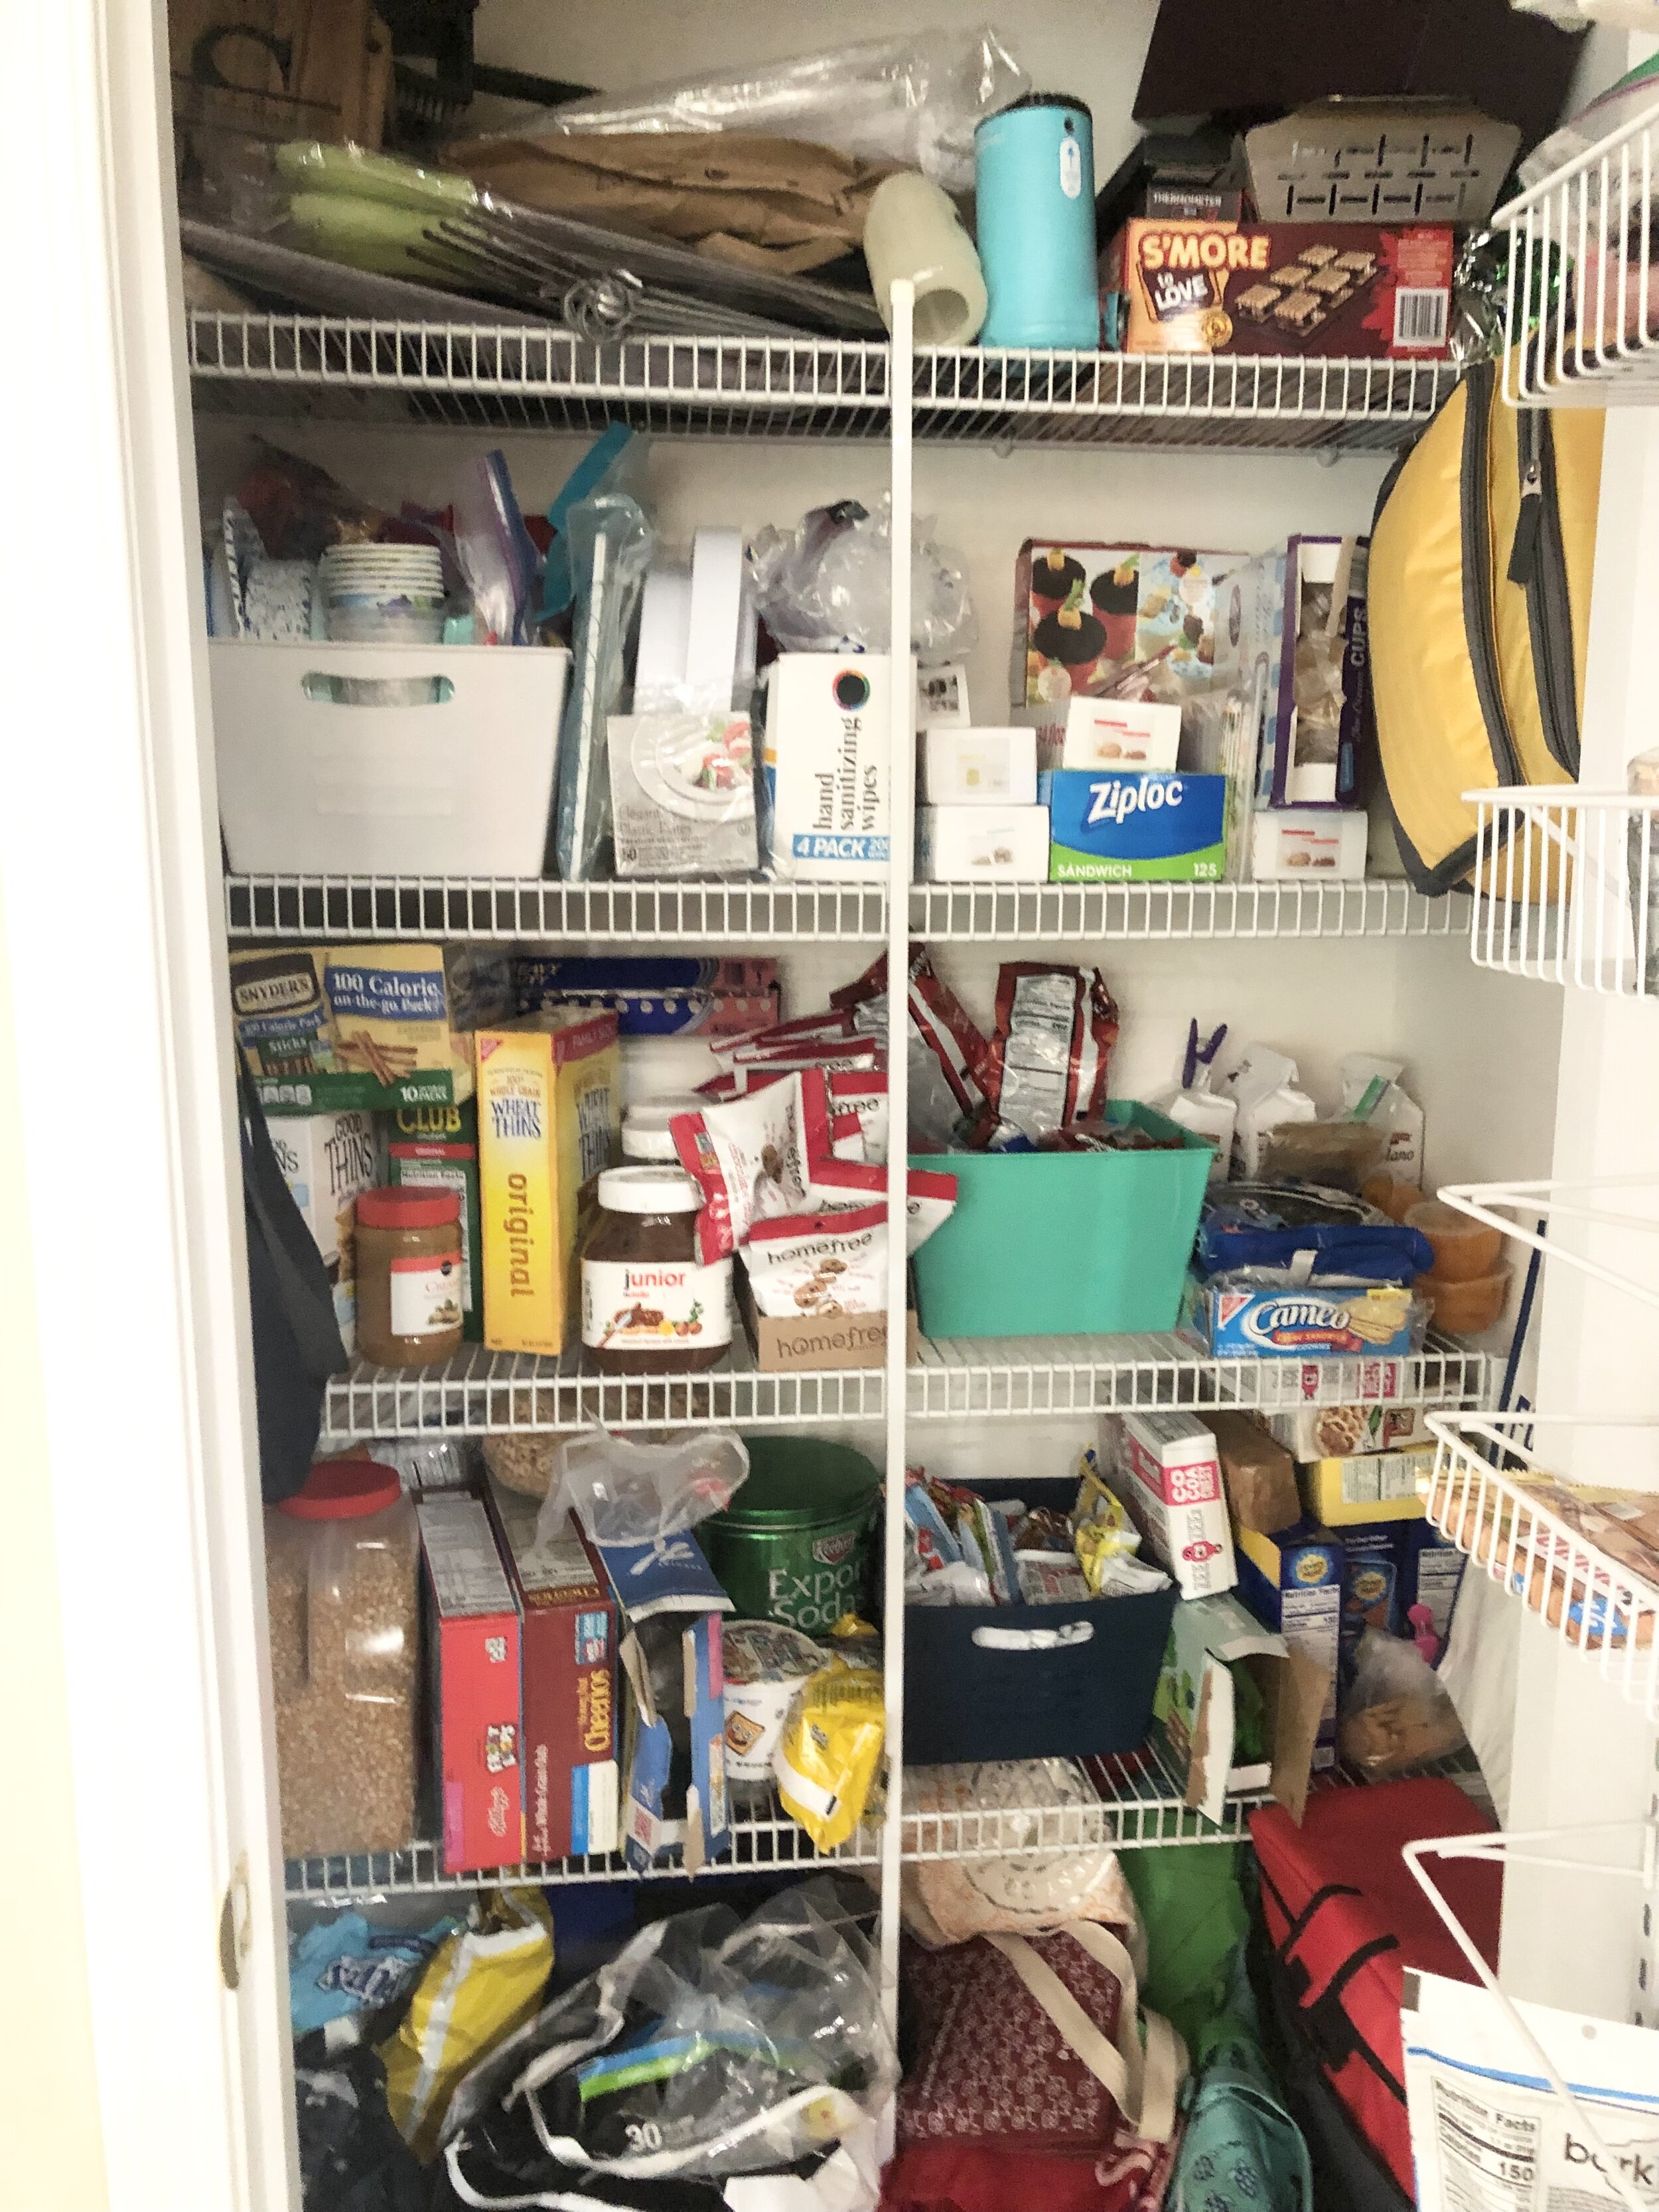
We all love our snacks, our meals, our food in general and we tend to keep it all tucked away in a room we call the pantry…some of us have several pantries. And that is ok, it could even be great! The problem is, the pantry can become somewhat of a nightmare - one second you have your shit together in there and you know exactly what you have and don’t have… the next minute things are shoved behind each other and there is a smell coming from one of the shelves. As with everything else, our lives get really crazy, really fast and unfortunately, “putting things back where you found them,” becomes, “just get it in here and move the F on.”
Don’t worry, you are not alone - I can say that MOST (your Instagram feed notwithstanding) humans suffer with “Messy Pantry Syndrome,” and are as overwhelmed as you are every time we open the pantry door. It is one of the most requested projects amongst Professional Organizers and one that most of us really enjoy, it is one of the easiest projects and can be a fun game of Tetris.
I’m going to walk you through my step-by-step process on getting your shit together in your pantry. And keeping it that way.
Step 1: Decide & Prep
There are a lot of decisions that we have to make on a daily basis, I get that. But, everything starts with a decision, so decide to start (and finish) organizing your pantry. I know you are overwhelmed and that emotion clouds your judgement, like booze, that feeling feeds your brain with millions of excuses to put off the project and find other, less meaningful things to do - like eat a snack.
If you decided to eat a snack AND organize your pantry, I applaud you, multi-tasking at its’ finest.
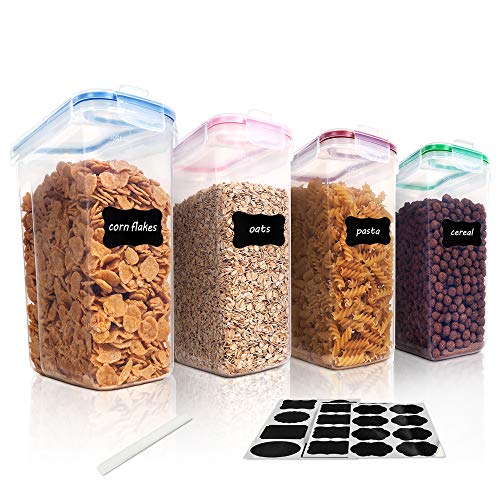
We need to get you ready to move on to step number two, so let’s get our prep work done. It is super important to have the proper tools/materials/supplies in place and ready to implement. First, take some measurements, you don’t have to get crazy specific, but the length and depth of your shelves is pretty important. Take these measurements with you to your favorite place to buy bins. If you are anything like me, the less running around that I have to do, the better, so Amazon for the win. There are a lot of choices out there, I recommend going with clear whenever possible and have provided some of my favorites here, you can also head over to the SHOP and browse around for a variety of storage solutions.


Step 2: Unload, Purge, Categorize, Clean
Hopefully you have a lot of counter space because you need to pull EVERYTHING out of your pantry. EVERY.THANG. I recommend having the trashcan next to you so that expired items can go directly in.
Get all of your like things together:
Breakfast items: cereal, breakfast bars, oatmeal
Salty Snack items: chips, nuts, trail mix,
Sweet Snack items: chocolates, gummy bears
…you get where I am going with this, yes?
Once you are finished with this process, do yourself a favor and clean your pantry before we put everything back in it. Vacuum and/or wipe down your shelves, clean the baseboards and vacuum, sweep, mop the floor. Clean slate.
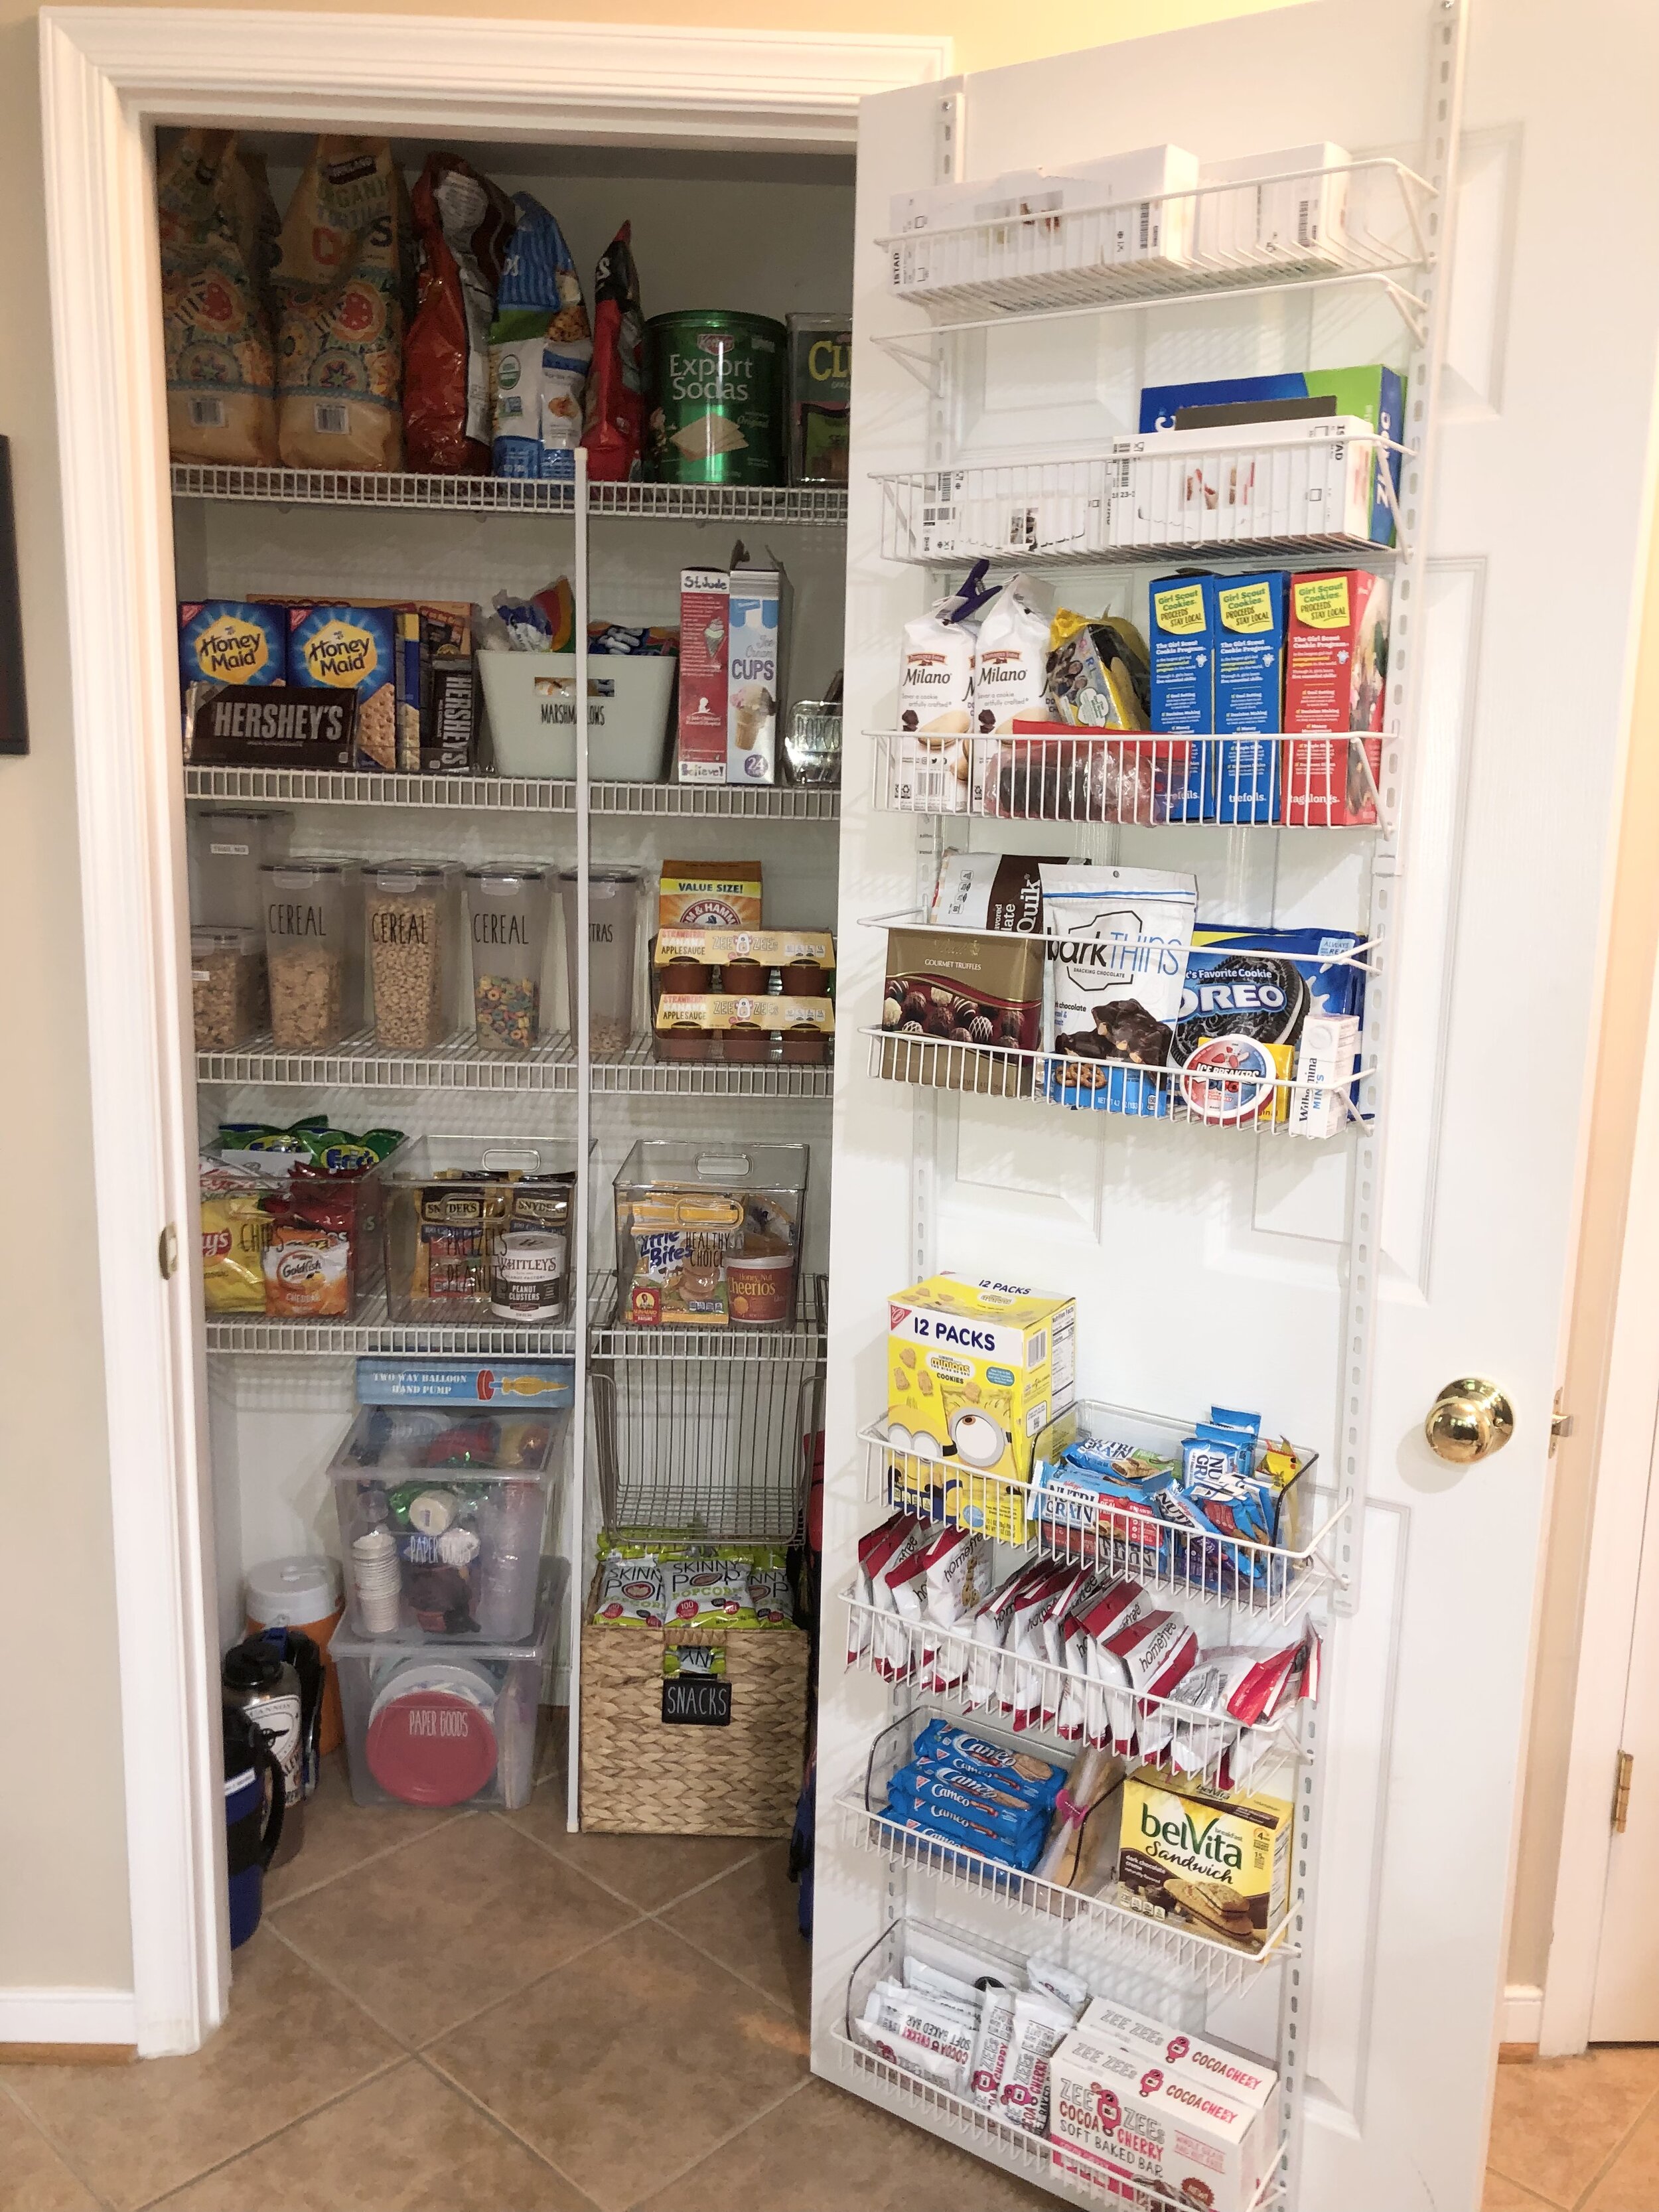
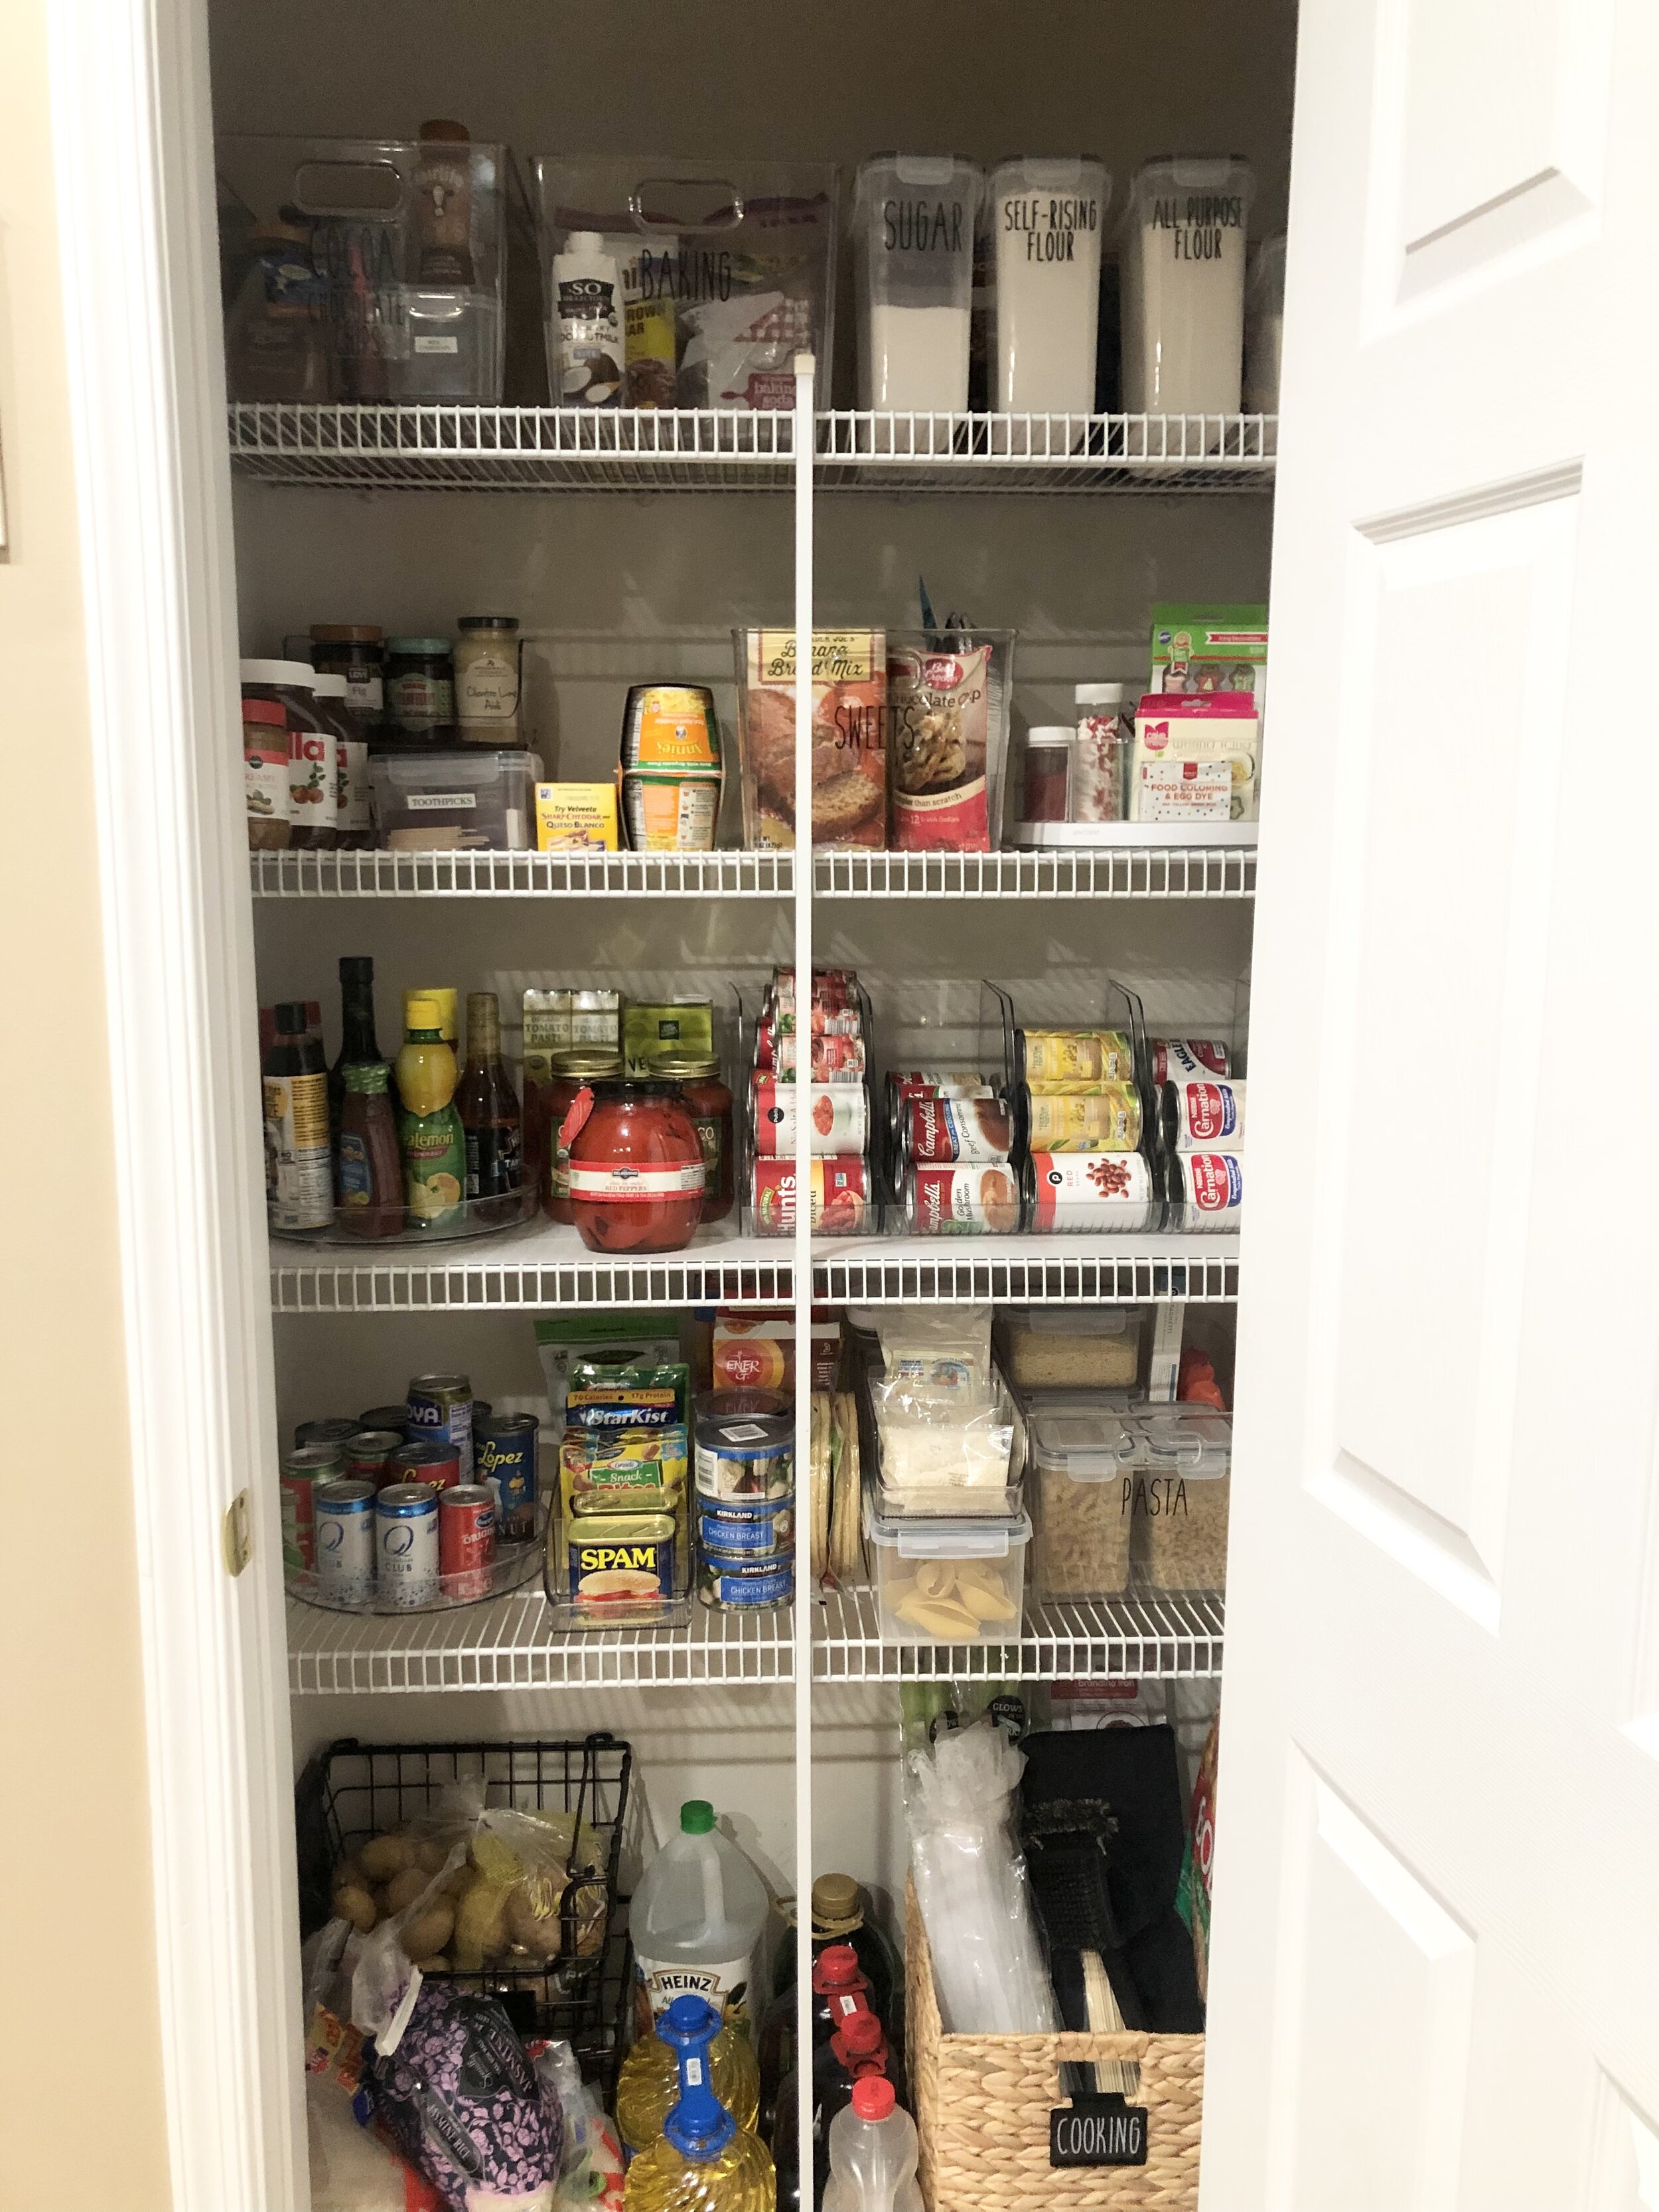
Step 3: Load em’ & Label em’
Now it is time to get your bins, baskets and containers out! This is the fun part. Fill your bins accordingly. I can’t really tell you how to do this, except that you want to keep your categories together and you want to label your bins. The labeling is so important because it will help you and others in your household keep the pantry looking and actually being organized. Maybe it is subconscious, but there really is something that makes you feel like a slack human being if you can’t manage to put something back where it belongs.


Step 4: Pack the Pantry
You are almost done! Isn’t this so exciting? It is time to put all of your bins back into the pantry. A couple of things to consider:
What is used most often? These should go on the easiest shelf to see and access.
If kids have free-range of snacks and such, make sure they are placed on lower shelves.
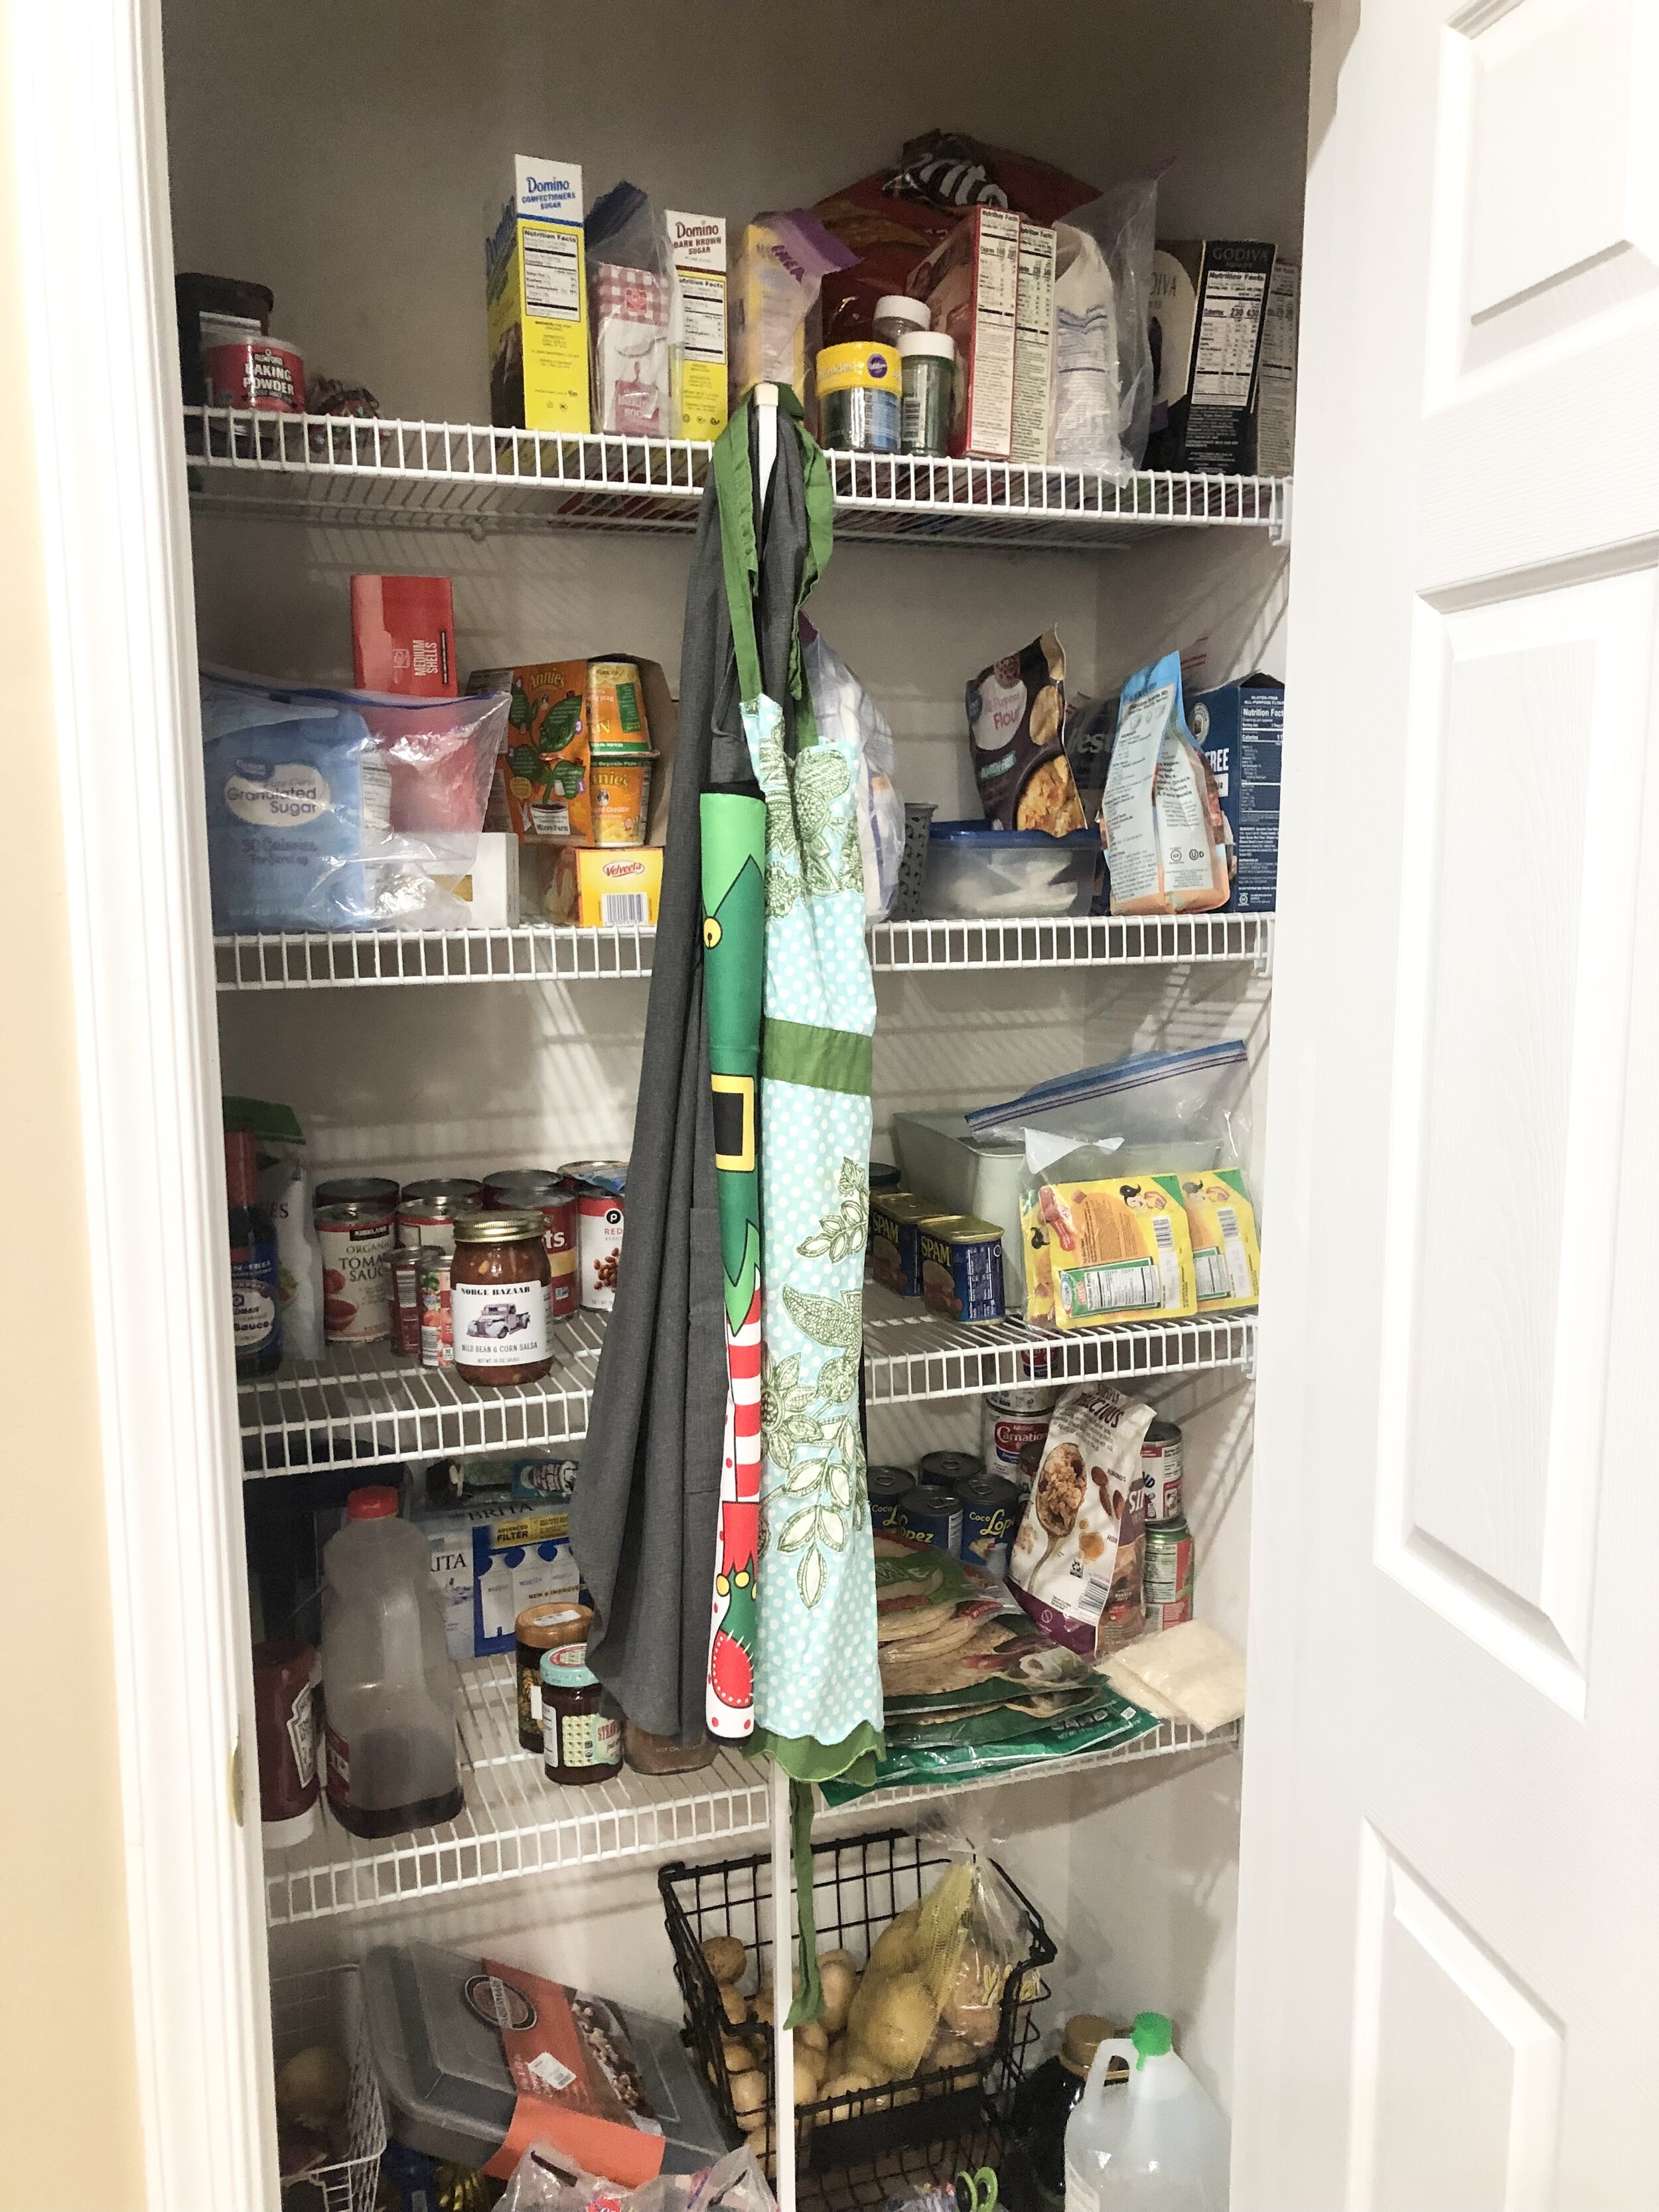
IMO perishable items should go on the bottom shelf, or even the floor
Larger items, like bulk items or back-up items, along with baking items should go on the top shelf.
Step 5: Admire
Take a step back and enjoy your hard work! I’m proud of you, I hope you are too!
Full Disclosure:
I have been attempting to write THIS blog since the middle of August, when I completed this project. COVID was my first excuse, then client workload, and yesterday, I actually did write most of the blog but didn’t save it. At this point, I really just wanted to get it done and my original excitement has turned to a little bit of bitterness and angst about checking the box.
Also, the products in the post have been used and are part of the Amazon Affiliates program.